
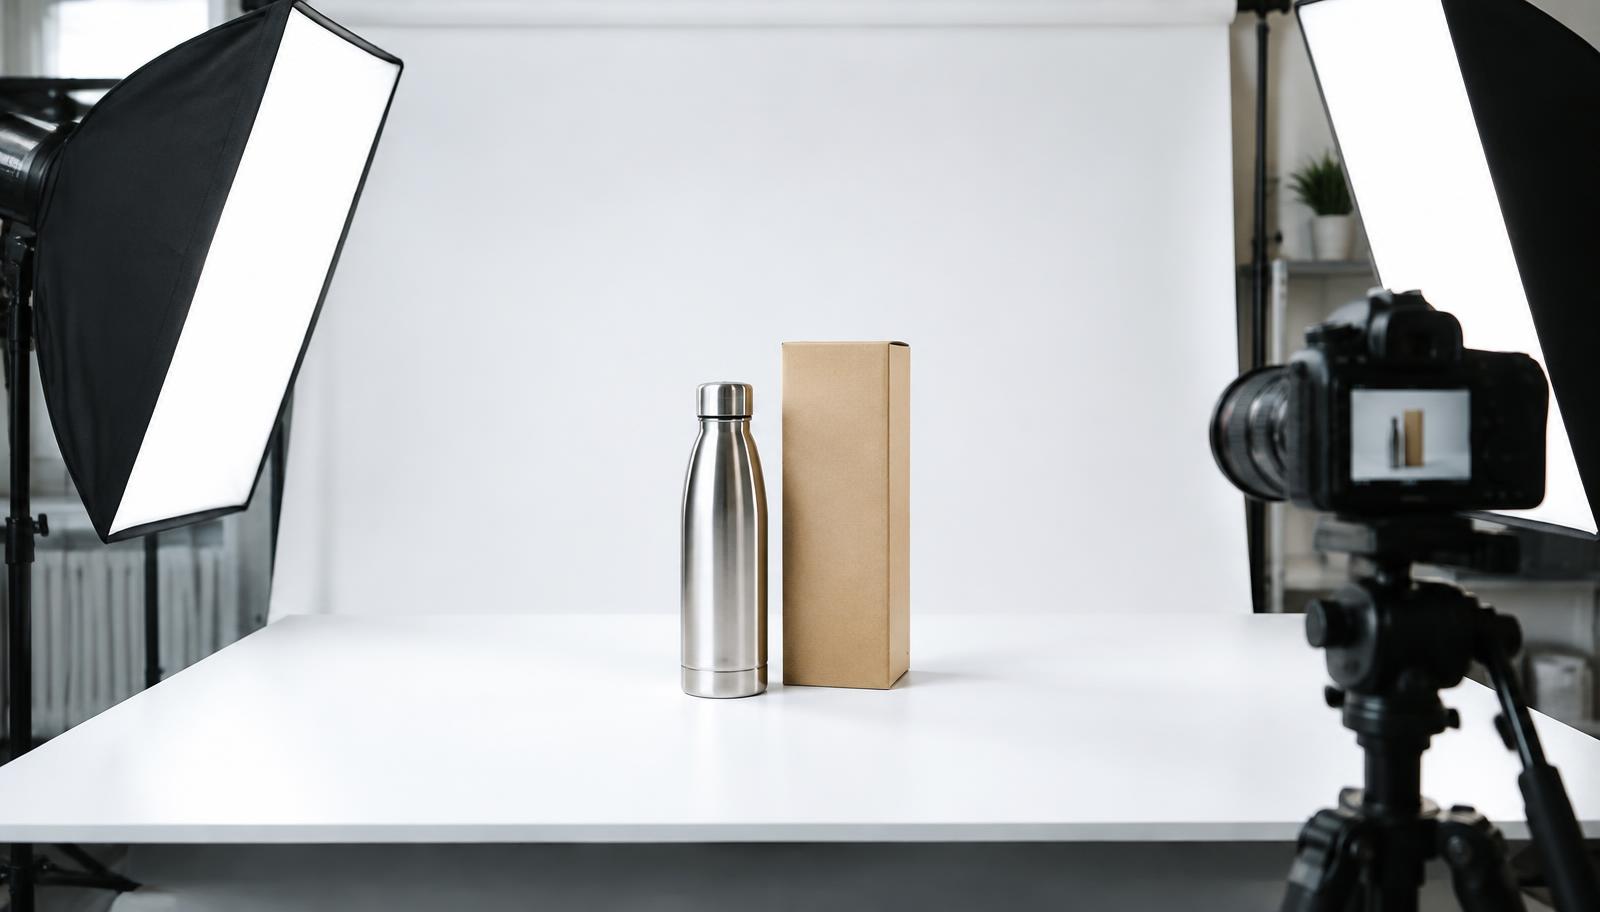
Build a Requirements Matrix for Each Selling Channel
Marketplace product photography has two jobs: qualify for publication and help a buyer make an informed decision. These jobs overlap, but an attractive image can still violate a channel rule or misrepresent the item. Requirements may vary by marketplace, country, category, and image position. Start with the current seller documentation for the exact listing destination rather than copying a competitor’s image gallery.
Create a requirements matrix that records the source link, review date, applicable category, and person responsible for confirmation. Include accepted file types, image dimensions, file-size limits, background rules, product coverage, and restrictions on text or additional objects. Distinguish mandatory requirements from recommendations and internal brand preferences. Recheck the matrix before upload because platform policies and automated enforcement can change.
Separate Main-Image Rules from Supporting Content
The main image generally needs to identify the purchasable product quickly, but its precise rules are channel-specific. Some marketplaces require a pure white background for particular categories and restrict text, graphics, props, or packaging. Others allow different presentation styles or have exceptions for certain products. Do not assume that a white-looking studio background satisfies a defined digital color requirement.
Supporting images may provide room for dimensions, feature explanations, lifestyle scenes, or included-parts layouts where permitted. Treat each image position as a separate communication task rather than repeating the same angle. Keep decorative elements out of any slot where they are prohibited. Confirm separately whether enhanced content, video, and other listing modules have their own specifications and eligibility conditions.
- Identify the exact marketplace, regional store, category, and image slots planned for the listing.
- Read the relevant official requirements and capture them in a channel-specific production brief.
- Resolve unclear cases through the platform’s seller support or documented guidance before commissioning expensive retouching.
- Export a test set and check the actual listing preview, including cropping and mobile presentation, before releasing the full batch.
Approve the Product Sample Before the Shoot
Photography should represent the item customers will actually receive, including color, finish, accessories, labeling, and packaging when shown. A development sample can differ from production in ways that are easy to miss on camera. Confirm the photographed SKU and revision against the approved product specification. If the sample is not final, document every discrepancy and avoid publishing misleading images.
Inspect products for dust, fingerprints, dents, scratches, and assembly problems before they reach the photographer. Cleaning a legitimate surface contaminant is different from retouching away a recurring production defect. Include the complete retail contents so the team can verify exactly which objects belong in the image. Keep a sample record that links the shoot to the supplier, variant, and approval status.
Write a Shot List Around Buyer Decisions
A useful gallery answers questions that specifications alone cannot resolve. Buyers may need to see closure details, connector positions, surface texture, interior capacity, or the shape of a handle in use. Prioritize views that reduce uncertainty about fit and function. Avoid filling image slots merely because the marketplace allows a certain number of uploads.
Core photography brief
- ✓Main image: approved product configuration, required background, crop allowance, and permitted contents.
- ✓Detail views: the construction, finish, interfaces, or controls buyers need to evaluate.
- ✓Scale and dimensions: measurement references with defined units and accurately placed arrows, where allowed.
- ✓Included contents: a layout separating supplied accessories from contextual props.
- ✓Lifestyle view: a plausible use setting that does not imply unsupported performance or suitability.
- ✓Variant coverage: confirmed images for each materially different color, size, finish, or bundle.
- ✓Delivery files: master assets, channel exports, naming conventions, usage rights, and approval owners.
Give every planned image a short purpose statement and list the evidence needed for any claims. Dimension graphics should use approved measurements rather than estimates taken from perspective photographs. A capacity demonstration should reflect a reproducible loading arrangement, not an impossible composition. This turns the shoot from an aesthetic exercise into a controlled merchandising task.
Control Color, Lighting, and Product Geometry
Consistent lighting and camera position help buyers compare variants without being distracted by changes in presentation. Ask the photographer to manage reflections, preserve surface texture, and avoid wide-angle distortion that changes apparent proportions. Reflective, translucent, and dark products often need different lighting approaches. Budget for those differences instead of expecting one setup to suit the entire range.
Use a color-managed workflow and a suitable reference during capture, while recognizing that shoppers’ screens will still vary. Review edited files against the physical sample under consistent viewing conditions. Retouching should remove temporary distractions without altering the product’s essential appearance. Do not make fabric look thicker, coatings more uniform, or seams cleaner than the goods being supplied.
Example
Illustrative shoot plan for a storage organizer
All quantities in this scenario are illustrative. A brand prepares three color variants and plans six approved gallery views per variant, creating eighteen final images. The photographer captures each color rather than recoloring one photograph because the finishes reflect light differently. A contents image shows the organizer alone, while a separate permitted lifestyle image uses household objects with clear wording that those objects are not included.
Check Claims, Props, and Image Usage Rights
Visuals can make claims even when there is no written promise. A product shown outdoors in heavy rain may imply weather resistance, while food contact scenes may imply suitability that requires verification. Review scenes and overlays against the product’s supported specifications and applicable market obligations. Treat badges, certification marks, and comparison graphics as claims requiring appropriate authorization and evidence.
Agree on photography rights before production, including permitted channels, regions, duration, editing, and access to source files. Confirm that any identifiable people, private locations, third-party artwork, or licensed props have appropriate permissions. Supplier-provided images are not automatically cleared for your brand’s use. Request written confirmation of the relevant rights rather than relying on possession of the files.
Export, Name, and Review Files Systematically
Preserve high-quality master files separately from marketplace exports so future requirements do not force another shoot. Create export presets only after confirming the destination’s current technical rules. Check dimensions, color profile, compression, background, edge quality, and readability at the displayed size. Avoid enlarging a small image merely to meet a pixel threshold when the underlying detail remains inadequate.
Use filenames and folders that identify SKU, variant, view, revision, and destination without exposing confidential information. Maintain an asset register connecting each published file to its approved master and listing. Have one reviewer check technical compliance and another verify product accuracy where resources allow. Record approval and retain replaced versions so listing problems can be traced to the correct asset.
Inspect the gallery on mobile as well as desktop because small annotations may become unreadable. Check that the platform has not cropped a connector, strap, or other important feature. Confirm that variant selection retrieves the right photographs and that alternate views remain in the intended sequence. Technical acceptance alone does not prove the finished listing is understandable.
Connect Photography Approval to Production Changes
A new supplier, revised mold, packaging update, or accessory substitution can make existing images inaccurate. Add a photography review to the product change-control process rather than waiting for customer complaints. Decide whether each change requires a new shoot, a limited update, or no visual revision. Where inventory versions overlap, coordinate listing content and stock handling to avoid promising one configuration and shipping another.
Source & Brand can coordinate supplier communication, private-label specifications, sample sourcing, and logistics planning so photography teams receive the correct product version. It does not own factories, issue inspection certificates, or act as a customs broker. Keep marketplace policy approval and final claim approval assigned to the responsible brand team. Measure recurring buyer questions and image-related returns to identify which gallery gaps deserve attention next.
Frequently asked questions
What image size should every marketplace use?
There is no single size that guarantees compliance across all channels and categories. Confirm current minimums, recommendations, aspect ratios, and file limits for each destination, then retain masters large enough for the intended uses.
Can we use supplier photographs?
Yes, if you have adequate usage rights and the photographs accurately show your exact product configuration. Verify that logos, accessories, packaging, and finishes match before publishing them under your listing.
Are computer-generated product images acceptable?
Acceptance depends on the platform, category, and placement. Even where permitted, a rendering must not misrepresent materials, proportions, included components, or product performance; use production samples to verify visual accuracy.
Should every variant have separate photography?
Materially different variants need images that accurately represent what buyers select. Shared detail views may be useful when genuinely identical, but do not let a generic image conceal differences in construction, size, finish, or contents.
What should we do if an image is rejected?
Read the rejection reason and compare the file with the current rule for that specific slot and category. Correct the identified issue, keep a record of the change, and use the platform’s review process when the reason remains unclear.
Key takeaway
Marketplace photography works best as a controlled product-information process, not a last-minute creative task. Confirm channel rules, photograph the approved product accurately, and maintain traceable assets as specifications and listings change.