
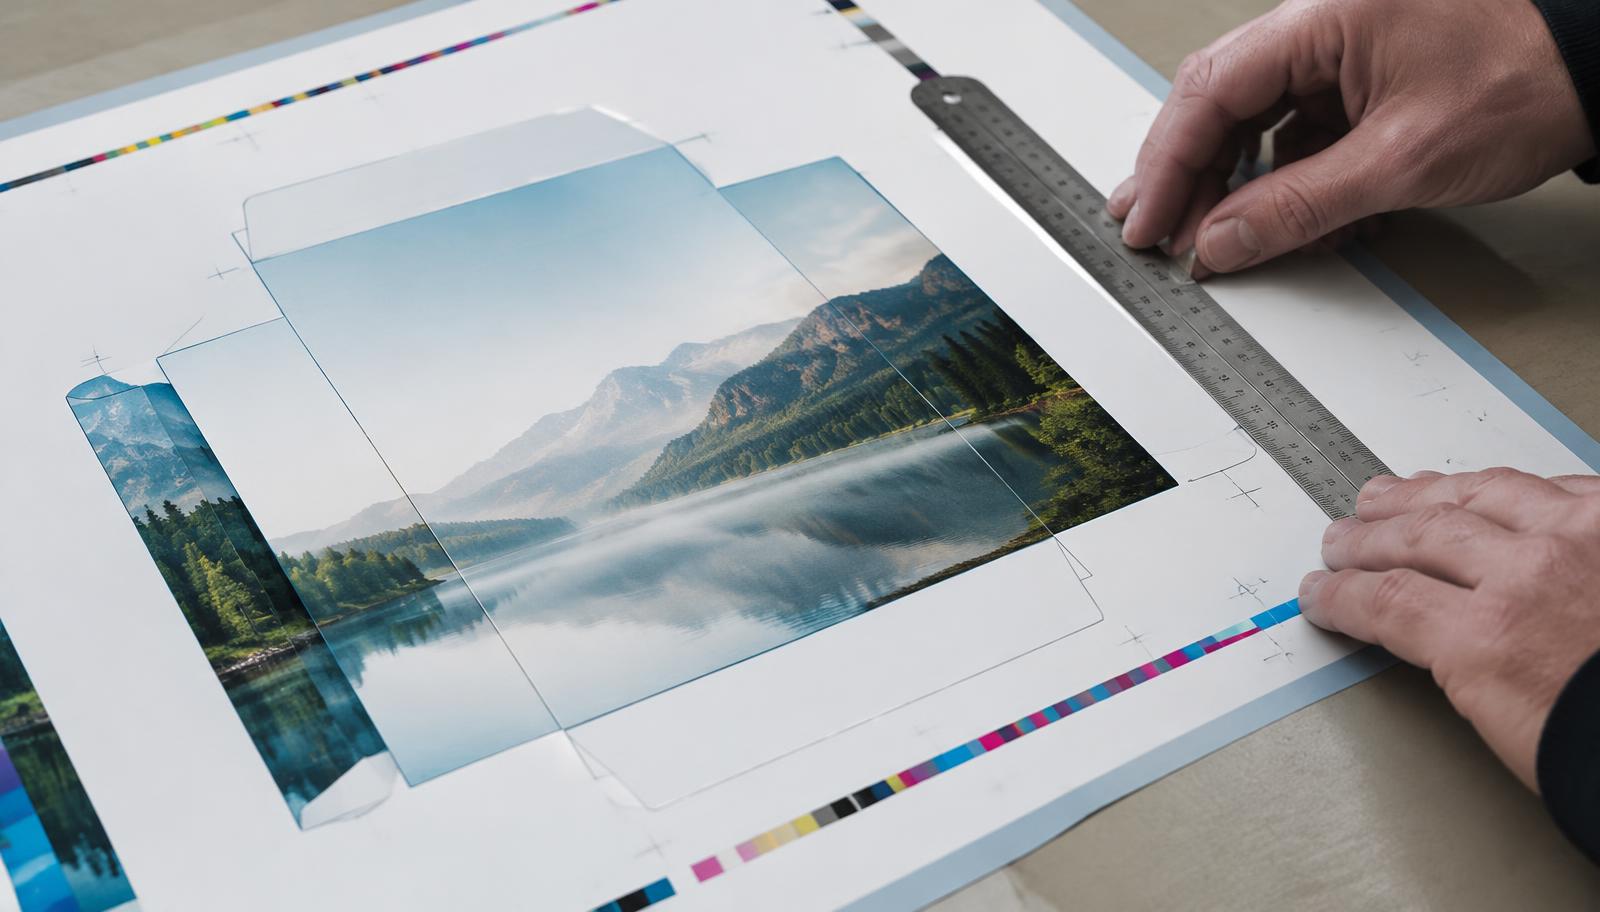
Begin With a Structurally Approved Dieline
A packaging dieline connects graphic design to cutting, creasing and assembly. It identifies panels, flaps and structural features so artwork lands on the intended surfaces. Treat it as production information rather than a decorative outline, because an attractive file can still describe packaging that does not fit or close.
Before design begins, confirm product dimensions, protective inserts, board specification and the intended packing method. Clarify whether dimensions describe internal space, external size or another measurement convention. Request the packaging converter’s approved template for that exact construction, and establish who can authorize later structural changes.
Evaluate an unprinted structural sample using the actual product or an agreed representative sample. Check closure, clearance, insert retention and orientation during packing. Changing board thickness or the closure style later can alter panel geometry and invalidate artwork that previously appeared correct.
Separate Cut, Crease and Glue Information
Ask the converter for a legend explaining every line style and technical layer. Cut paths, crease rules, perforations and partial cuts must remain distinguishable when someone opens the file in different software. Never assume a familiar line color means the same thing across suppliers.
Keep structural information separate from printable artwork and preserve its approved scale. Identify glue areas, overlapping panels and tuck flaps before placing critical graphics. Ink, varnish or lamination in a bonding zone may affect adhesion, so the converter must specify where coatings and artwork should be excluded.
- Confirm panel names, reading direction and the front face against an assembled sample.
- Keep technical paths on clearly named layers or separations following converter instructions.
- Mark glue exclusions, windows, perforations and coding areas before design approval.
- Lock the approved structural revision and record its identifier in the artwork handoff.
Check how artwork behaves where panels meet after assembly. A continuous stripe may expose ordinary folding variation more strongly than separate panel graphics. Ask what alignment can realistically be maintained before approving a concept that depends on perfect continuity.
Set Bleed and Safe Areas for the Construction
Bleed extends background artwork beyond a cut edge so small production variations do not expose unwanted white edges. A safety margin keeps critical text and graphics away from cuts, folds and features that may move relative to the print. These settings solve different problems and cannot replace each other.
Obtain the converter’s required bleed and safe distances for the specific material and production route. There is no universal setting for cartons, labels, pouches and corrugated packaging. Pay particular attention to curved cuts, windows and flap edges where graphics may become hidden or distorted.
Example
Illustrative carton layout
Illustrative numbers: a converter requests 3 mm bleed beyond cut edges and a 4 mm safety margin for important text. The designer extends the background into the bleed but moves ingredients copy inside the safe area. The team checks both decisions on a folded proof rather than treating those measurements as universal standards.
Keep essential information away from areas that become inaccessible after filling or sealing. Review the pack in its displayed and opened states, not just as a flat drawing. A layout can meet edge distances yet still hide a warning beneath a flap.
Prepare Color, Images and Finishing Separations
Agree the printing method, substrate and color strategy before converting artwork. Process colors, spot inks and white ink behave differently, especially on colored, transparent or absorbent materials. A monitor preview cannot predict how the substrate and finishing sequence will affect the finished appearance.
Use the converter’s requested color profile and output settings instead of applying a generic conversion at release. Check effective image resolution at final size, not merely the resolution recorded in the source file. Keep logos and fine linework as vectors where practical, and confirm minimum type sizes and line weights.
Supply foil, embossing, debossing, white ink and spot varnish as separately identified production elements following supplier instructions. Specify overprint or knockout behavior and inspect the resulting separations. Thin reversed text and fine metallic details need special attention because a clean digital rendering does not guarantee reliable production.
Export a Controlled Production File Package
Print ready means ready for an agreed workflow, not simply exported as a PDF. Ask which PDF standard, transparency handling, font treatment and technical marks the converter accepts. Keep an editable master internally while delivering production files in the requested format.
Resolve missing links and font licensing issues before release. If text is outlined, retain a separate editable version for future language or legal changes. Inspect punctuation, special characters and small symbols after export because conversion errors may not be visible in the design application.
Production artwork release checks
- ✓The approved structure, dimensions, material and artwork scale match the order specification.
- ✓Bleed, safe areas, panel orientation and glue exclusions meet converter requirements.
- ✓Images, fonts, color spaces and technical separations pass preflight.
- ✓Required copy, barcodes and language variants have named reviewers.
- ✓The production PDF and reference preview share an unambiguous revision identifier.
- ✓A written approval hold point prevents release of superseded files.
Check Barcodes and Market Specific Copy
Barcode artwork requires more than a recognizable pattern. Confirm the identifier, symbol type, size, quiet zones and print orientation against the relevant requirements. Avoid folds, seams and reflective features unless the placement has been validated for the actual package.
Test representative printed packaging rather than relying on an office printout. A successful scan with one phone is not equivalent to formal verification against the applicable barcode specification. Define who arranges verification, which sample is tested and what evidence is needed before release.
Assign ingredients, warnings, recycling claims and other mandatory copy to qualified reviewers for each market. Supplier acceptance does not establish regulatory compliance. Link approved wording to the correct product and language version so an update cannot silently overwrite another market’s artwork.
Use Proofs to Resolve Specific Risks
Different proofs answer different questions. A PDF can confirm content and panel placement, while a folded mockup helps evaluate assembly and reading order. A contract color proof, substrate drawdown or production sample may be needed to assess color or finishing within the agreed workflow.
State what each approval covers and what it excludes. An unprinted sample cannot approve ink appearance, and an office printout cannot establish lamination behavior. For higher risk launches, discuss an appropriate production sample or press check before committing the full run.
Record corrections against numbered revisions and request replacement proofs after meaningful changes. Compare the final export with approved copy instead of relying on memory. Keep commercial, technical and content approvals distinct so one reviewer’s silence is not interpreted as authorization from everyone.
Preserve Revision Control Through Supplier Handoffs
A useful handoff includes the production PDF, visual reference, structural revision and specification for materials and finishes. Identify the exact file approved for production and remove superseded versions from active folders. If the converter adjusts artwork, require the revised proof to return for authorization.
For repeat orders, confirm whether tooling, board, print route or artwork has changed. A familiar product name does not guarantee an unchanged specification. Retain an approved physical reference where useful, while recognizing that aging and storage can affect its appearance.
Source & Brand can coordinate private label requirements, supplier communication and production handoffs within a sourcing project. It does not own factories or issue inspection certificates. The brand, converter and appointed specialists should have explicit responsibilities for structural performance, regulatory content and final artwork approval.
Validate the artwork using a physical blank made from the converter’s current dieline. Fold it, place the product inside and check glue seams, opening direction and label positions. Keep cut, crease, bleed and safe-area instructions on separate clearly named layers according to the printer’s requirements. Ask the printer to flag unsupported fonts, low-resolution graphics and unintended overprint settings before proof approval. Do not assume a dieline from a visually similar box is interchangeable. Board thickness and closure geometry can change panel sizes, so freeze the structural drawing before treating the artwork as print-ready.
Frequently asked questions
Can design start before the dieline arrives?
Visual concepts can start earlier, but final placement should use the approved production template. A different structure may change panel sizes, text fit and finishing positions.
Is a standard bleed setting sufficient?
Use the converter’s requirements for the construction and material. Bleed does not replace safe distances around folds, glue zones and critical copy.
Should technical dielines appear in print?
Usually they are excluded from printed graphics, but the converter must define the workflow. Keep them separately identifiable and confirm their treatment in the final separations.
Does outlining fonts make artwork print ready?
No; it addresses only one possible compatibility issue. Structure, color, image quality, technical layers, content and export settings still require review.
Who approves the final proof?
Assign named reviewers for appearance, technical production and mandatory content. A release coordinator should gather their documented approvals before authorizing production.
Key takeaway
Reliable artwork starts with an approved structure and ends with a clearly authorized production file. Confirm converter requirements early, select proofs that address real risks and preserve revision traceability across every handoff.